REVIEW · PHOTOGRAPHY SESSIONS
Photography & Rockies Road Trip
Book on Viator →Operated by Nature PhotoHikes · Bookable on Viator
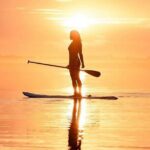
Five days, one long camera hunt. This photo-first Rockies road trip turns the classic Jasper–Icefields–Lake Louise route into a guided, light-focused itinerary, with a professional photographer guide calling out the best viewpoints.
I especially like that you get practical coaching for both smartphone and DSLR shooting, not just scenic stops. You also build in real chances for wildlife—so your photos aren’t only about mountains and waterfalls.
The main drawback is simple: this kind of trip is weather-dependent. If clouds, rain, or poor light roll in, you’ll need flexibility, and you’ll want to plan for wet gear and quick lens wipes.
In This Review
- Key highlights worth planning for
- Why This Photo-Focused Rockies Road Trip Feels Different From a Bus Tour
- Getting From Vancouver: Pickup, Transportation, and How the Days Run
- Day 1: Jasper National Park and the Kamloops-to-Rockies Drive
- Day 2: Maligne Canyon, Sulphur Skyline, and Miette Hot Springs
- Maligne Canyon: photos + wildlife in the same hour
- Sulphur Skyline Trail: short hike, good payoff
- Miette Hot Springs: the reset button
- Day 3: Athabasca Falls, Jasper Town Breaks, and Icefields Parkway Classics
- Athabasca Falls: the photo lesson is about motion and timing
- Pyramid and Patricia Lakes: calmer water, easier composition
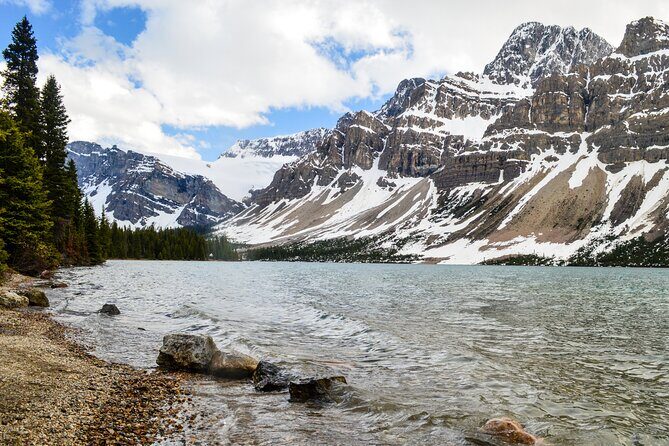
- Columbia Icefields + Peyto Lake: glacier country requires patience
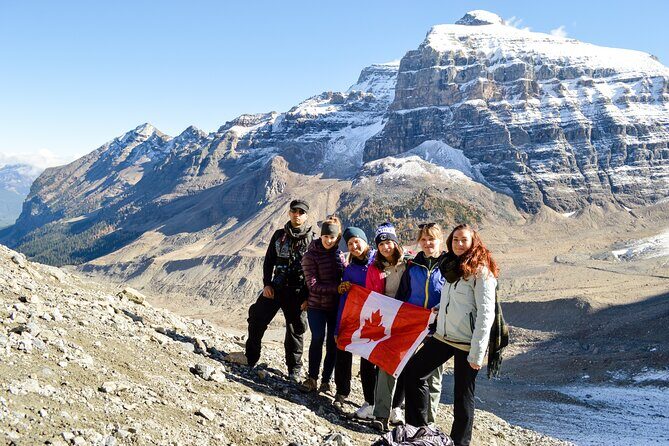
- Day 4: Lake Louise to Moraine Lake, Plus Plain of Six Glaciers and Teahouse
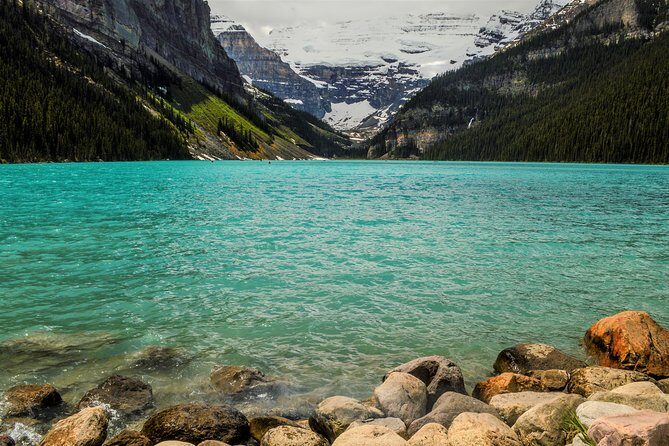
- Lake Louise: start strong, then hike
- Teahouse: why this stop is more than a snack break
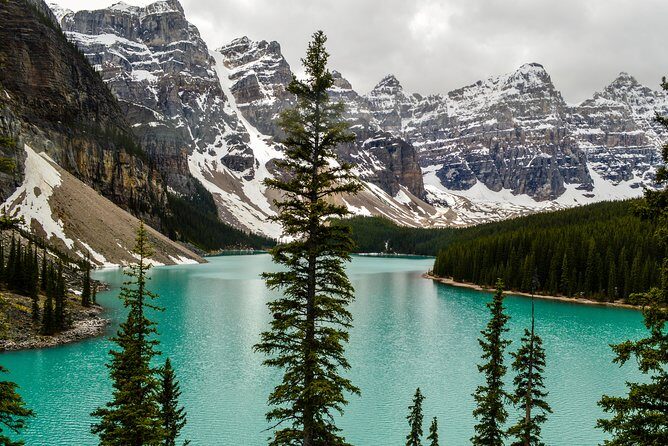
- Moraine Lake: timing is the whole game
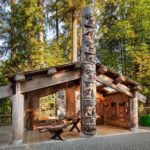
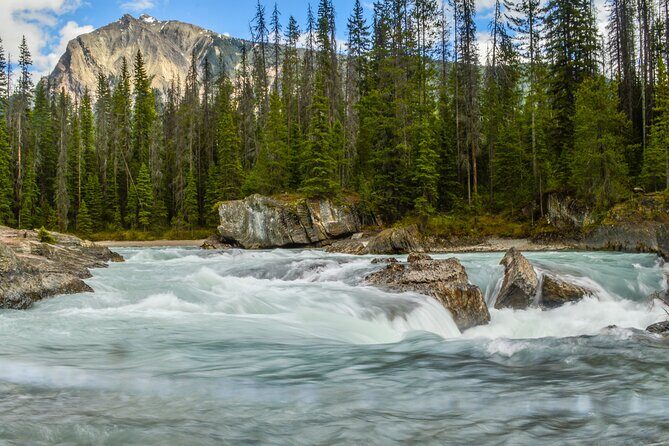
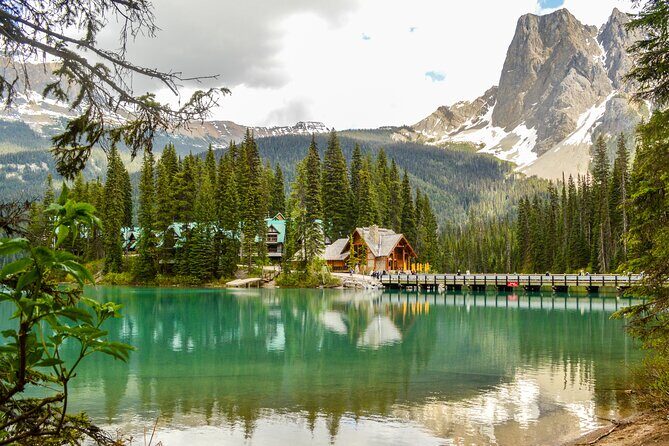
- Day 5: Emerald Lake and Natural Bridge in Yoho National Park
- Emerald Lake: small time window, high impact
- Natural Bridge: a different angle from the glacier-heavy days
- The Photo Coaching That Actually Helps on the Road
- Smartphone + DSLR tips that don’t waste your time
- Lighting and location: built into the stops
- Wildlife isn’t optional here
- Hiking With Camera Gear: What to Bring and How to Stay Comfortable
- Value Check: What $1,158.78 Really Covers (and What You Need to Pay)
- Who This Rockies Photo Trip Suits Best
- When Weather Changes Your Plan, This Tour Still Works
- Should You Book Photography & Rockies Road Trip?
- FAQ
- How long is the Photography & Rockies Road Trip?
- What’s the meeting time and where do we start in Vancouver?
- How many people are in the group?
- Is food included in the price?
- Are national park fees included?
- Do I need to arrange my own transportation between stops?
- Is there a professional photographer guide?
- What camera help is provided?
- What about extra activities like gondolas or canoe rentals?
- What happens if weather is poor?
Key highlights worth planning for
- Up to 5 travelers means quieter photo time and less rushing at pull-offs
- Professional photo coaching for smartphone and DSLR settings and composition
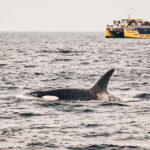
- Wildlife opportunities built into canyon and valley stops, not treated as an afterthought
- Hot springs + hikes (Miette Hot Springs and Sulphur Skyline) for variety beyond just driving
- Icefields Parkway classics: Athabasca Falls, Columbia Icefields, Peyto Lake
- National park fees and transportation included, with food and drinks left for you to handle
Why This Photo-Focused Rockies Road Trip Feels Different From a Bus Tour
If your last “scenic tour” felt like a lot of window views and very little hands-on guidance, this trip is built to fix that. The itinerary moves through the big Rockies highlights, but the emphasis is on how you photograph them—where you stand, when you shoot, and how to work with changing light.
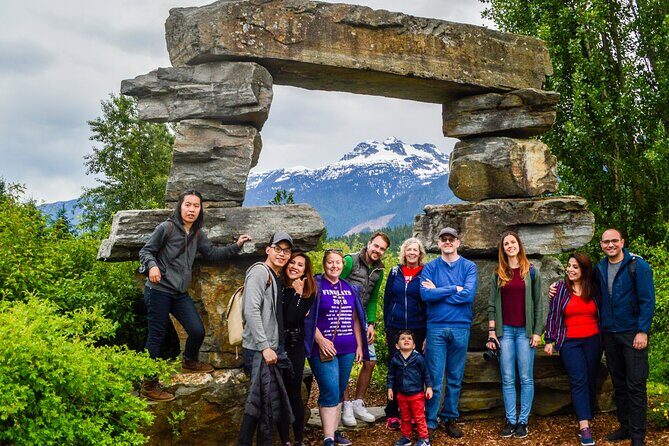
What makes it work is that you’re not left to figure out timing alone. A dedicated photo lead helps you use your phone or camera with sensible settings and composition ideas. And because the group is small—max 5 people—you’re not constantly waiting for someone to decide where to stand.
That photo-first approach also changes how you experience the scenery. Waterfalls, canyons, and glacier viewpoints become targets you visit with purpose. It’s still a road trip, but it feels more like guided field practice than sightseeing on autopilot.
You can also read our reviews of more photography tours in Vancouver
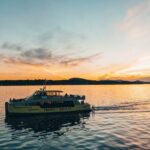
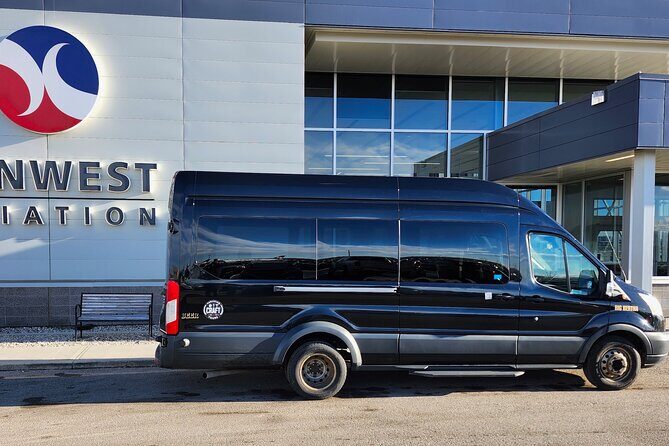
Getting From Vancouver: Pickup, Transportation, and How the Days Run
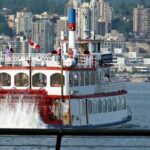
You start at 8:00 am in Vancouver, with pickup from a prearranged Vancouver location of your choice. That matters more than it sounds. When your day begins on time and you’re already set up with transportation, you lose less energy to logistics—and you arrive at the first stops ready to shoot.
Transportation is included, and the route is designed around long scenic drives plus dedicated photo time at each main stop. Expect days that feel full—around 6 to 8 hours, depending on the day. The pace is active, but it’s not a marathon. You’ll do hiking on selected days and spend the rest of the time moving between major viewpoints.
Also, this is not a “big group herd” setup. With a maximum of 5 travelers, you get more flexibility to adjust your position, check your framing, and regroup after short walks.
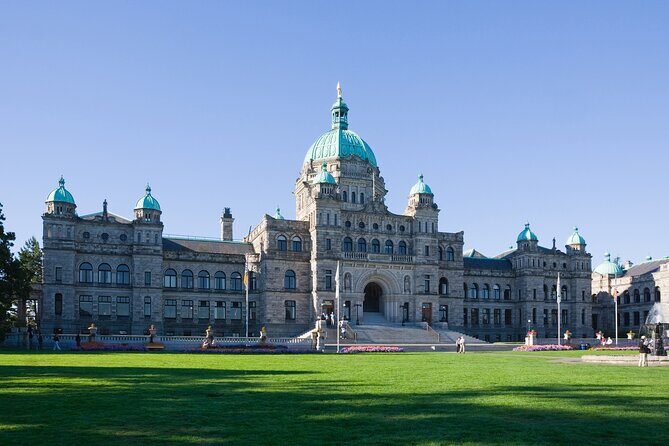
Day 1: Jasper National Park and the Kamloops-to-Rockies Drive
Day 1 is all about setting up your Rockies rhythm. You travel to Jasper National Park through Kamloops and the Rockies, starting your trip with a long, scenic transit day. The national park fees are covered, so you aren’t juggling tickets while you’re trying to enjoy the drive.
This is a good opening day if you want to ease into the region’s scale. Jasper is where the Rockies start looking “real,” not postcard-real, but lived-in—valleys, ridgelines, and a sense of depth that makes every camera angle feel more dramatic.
The practical part: the drive day also gives you time to get your gear sorted and your settings dialed in. If you’re shooting with a smartphone, you can get quick tips before the more intense hiking days. If you’re carrying a DSLR or mirrorless, you’ll learn how to keep your kit workable on a moving schedule.
Potential drawback: this is a long day in the vehicle. If you’re sensitive to tight schedules, bring snacks and plan for breaks that keep you comfortable.
Day 2: Maligne Canyon, Sulphur Skyline, and Miette Hot Springs
Day 2 is where the trip starts feeling like a real adventure mix—canyon scenery, wildlife, a hike, and then hot springs.
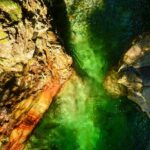
Maligne Canyon: photos + wildlife in the same hour
You visit Maligne Canyon and spend time checking out wildlife. That combination is one of the trip’s smarter choices. Canyons give you strong textures and dramatic shadows, while wildlife moments can add movement and scale that static landscapes can’t.
One caution for camera planning: canyon light changes fast. A photo lead’s help with timing and position can make a huge difference here.


Sulphur Skyline Trail: short hike, good payoff
You also hike the Sulpher Skyline trail. This is the kind of trail that’s ideal for learning while moving—enough effort to feel like you hiked, but not so punishing that you arrive exhausted for photos.
A real tip for this day: wear comfortable, broken-in shoes with traction. Rock and trail surfaces can be slick, and you’ll want sure footing when you’re stopping to frame shots.
Miette Hot Springs: the reset button
Then you take a dip at Miette Hot Springs. It’s a valuable contrast after walking. Hot springs are not just about relaxation; they give your body a recovery window so you can enjoy the next heavy photo day.
What you’ll like most is the rhythm: hike for views, then soak for recovery. It keeps the trip from turning into all effort and no decompression.
Day 3: Athabasca Falls, Jasper Town Breaks, and Icefields Parkway Classics
Day 3 is the Rockies power day—waterfalls, lakes, glacier-country stops, and one of the region’s most famous drive corridors.
You start with time around Jasper town, then visit Pyramid and Patricia Lakes, and hit Athabasca Falls. Finally, the day includes Columbia Icefields and ends with Peyto Lake.
Athabasca Falls: the photo lesson is about motion and timing
Athabasca Falls is one of those stops where camera settings matter. You’ll be capturing mist, water streaks, and different light angles across the day. A photo coach can help you shift from “I see the waterfall” to “I’m controlling my shot.”
The practical side: bring a lens cloth. If weather shifts or you get mist, wiping your lens or smartphone screen fast can save your best angles.
Pyramid and Patricia Lakes: calmer water, easier composition
Lakes can be a relief after waterfalls. They offer calmer surfaces and more forgiving reflection opportunities. They’re also a great place to practice composition—foreground detail, leading lines, and keeping horizons clean.
Columbia Icefields + Peyto Lake: glacier country requires patience
The Icefields area and Peyto Lake are big-ticket scenery moments. They tend to demand patience because conditions can change quickly—wind, cloud cover, and shifting light.
This is also the day where weather flexibility pays off. If the clouds open, your photos level up fast. If not, you still get rewarding angles, but you’ll want to lean on your guide’s timing and viewpoint choices.
Day 4: Lake Louise to Moraine Lake, Plus Plain of Six Glaciers and Teahouse
Day 4 is a classic double-hit: Lake Louise first, then hiking on the Plain of Six Glaciers route to the Teahouse, plus a stop at Moraine Lake.
Lake Louise: start strong, then hike
Lake Louise works well as a morning anchor. It’s a place where you can shoot wide views and then switch to details—trail moments, shoreline angles, and mountain textures as the day rises.
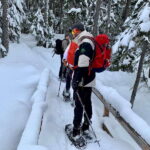
Then you hike the Plain of Six Glaciers and Teahouse. This is a hike built for travelers who can handle walking for hours but don’t want it to feel like an ultra-challenge. In a reasonable shape range, most people can do it with smart pacing and proper layers.
Practical note: dress in layers. Even if the day starts bright, mountain weather can turn quickly.
Teahouse: why this stop is more than a snack break
The Teahouse portion gives you a structured turnaround point. You get time to reset your eyes, check your photos, and decide how you want to shoot the return.
If rain shows up, don’t panic. A simple wipe of your camera lens or phone screen keeps your next shots sharp.
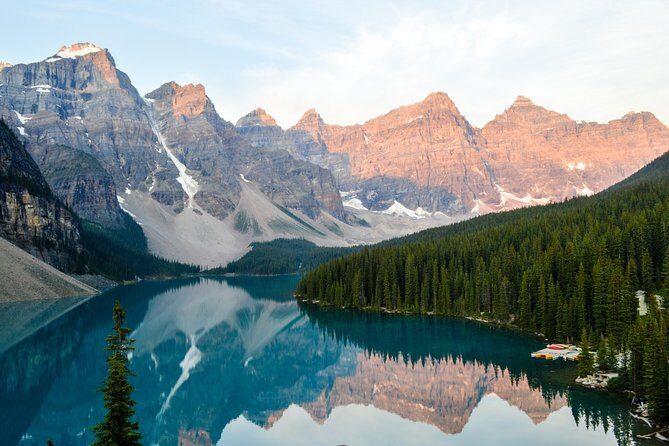
Moraine Lake: timing is the whole game
You stop at Moraine Lake. This is the kind of scene where the light can make or break your photo. If clouds move through, you might not get the crisp look you hoped for—but you can still get mood and texture, especially with coaching on where to stand.
Day 5: Emerald Lake and Natural Bridge in Yoho National Park
Day 5 is shorter—about 1 hour—but it doesn’t feel like a letdown. You visit Emerald Lake, and you also stop at Natural Bridge in Yoho National Park.
Emerald Lake: small time window, high impact
Even with limited time, Emerald Lake is a strong final-day target. It tends to reward clean framing and thoughtful foreground choices, which is exactly what the photo guidance supports.
Natural Bridge: a different angle from the glacier-heavy days
Natural Bridge adds variety. After glacier-country vibes from earlier days, a rock and water feature gives your camera a new kind of subject—less “big mountain hero shot,” more “interesting structure.”
If you’re trying to improve your photography quickly, ending with a different type of subject helps you practice moving between scene styles.
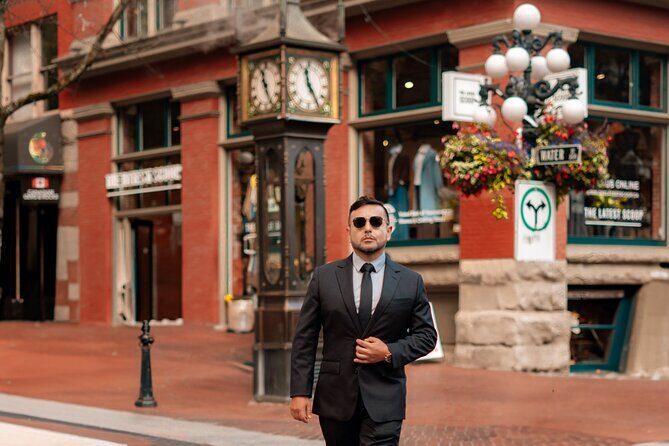
The Photo Coaching That Actually Helps on the Road
This tour’s best feature isn’t that it visits famous places. It’s that you get support turning those places into better images.
Smartphone + DSLR tips that don’t waste your time
You get helpful tips for both smartphone and DSLR camera settings. That means you aren’t locked into one gear type. Whether you shoot on a phone or carry an SLR Nikon, you can learn the same core habits: correct exposure approach, composition choices, and how to respond when the light changes.
The coaching style also matters. People report that Nafees shares practical guidance, including how to set up your shots for scenic landscapes and how to handle camera gear efficiently while hiking.
Lighting and location: built into the stops
A big part of the value is how the itinerary optimizes lighting and location. You don’t just stop at scenic points randomly. You stop with intention, which increases your odds of getting clear, dramatic images without wasting time.
Wildlife isn’t optional here
You’ll get chances for wildlife, especially around canyon and valley stops. Wildlife photography adds unpredictability, so the guidance on being flexible with angles and timing becomes essential.
And yes—this means you should expect the best shots to come when you’re ready to move quickly. Keep your kit accessible and your mind on the moment.
Hiking With Camera Gear: What to Bring and How to Stay Comfortable
Most people can participate, but the comfort factor depends on what you pack and how you manage your camera load.
From the practical advice shared by participants, here are the habits that make the hike days easier:
- Wear broken-in shoes with traction
- Use layers so you can adjust with mountain weather
- Keep camera equipment light and compact so it doesn’t slow you down
- Bring a cloth to wipe your lens or smartphone screen, especially if rain or mist happens
- Bring snacks for the longer days like Lake Louise and Moraine Lake
Also, think about your “shooting workflow.” When you hike, you’ll have brief pauses to frame and shoot. If your camera or phone is hard to access, you miss shots. Your gear should be ready before you reach the best angle.
Value Check: What $1,158.78 Really Covers (and What You Need to Pay)
At $1,158.78 per person for about 5 days, the key question is whether you’re paying only for driving to famous places—or for the guided craft behind it.
Here’s what you’re getting that protects your budget:
- Transportation included
- Driver/guide included
- National park fees included
- Professional photographer guide included
- Professionally led hiking and camping experience included
What’s not included:
- Food and drinks
- Upgrade in accommodation to hotel/hostel
- Extra activities like canoe rentals or gondola tickets (if you decide to add those on your own)
That means you should budget for daily meals on top of the tour price. If you plan meals poorly, the total can creep up fast—especially since long scenic days can be tough to time for lunch.
The other value driver is the group size. With up to 5 travelers, you’re paying for guided attention, not just vehicle space. That’s often what makes photography trips feel worth it.
Who This Rockies Photo Trip Suits Best
This is a strong fit if you:
- Want to improve photo skills in a real-world setting
- Prefer small-group guidance over big tour crowding
- Like a mix of driving, short-to-moderate hikes, and nature breaks like hot springs
- Bring both smartphone and camera (or want to upgrade your smartphone approach)
It may be less ideal if you:
- Hate weather uncertainty and need perfect conditions every day
- Want very low hiking effort (this includes some trail walking)
- Expect a fully catered trip with meals included
When Weather Changes Your Plan, This Tour Still Works
Weather is a given in the Rockies. Clouds, rain, and shifting visibility happen. The good news is that the experience is designed for a weather-realistic reality.
You should plan to be flexible on dates and accept that your exact conditions might vary. The best mindset is to treat the trip as learning time: how to shoot in changing light and how to adjust framing when clouds roll in.
Bring waterproof layers, pack a lens cloth, and be ready to keep shooting even if the sky isn’t perfect. That’s when the coaching makes the biggest difference.
Should You Book Photography & Rockies Road Trip?
I’d book this if you want a photo-guided Rockies experience with real structure. The combination of professional photo coaching, a small group size, and a route through big-name parks (Jasper, Yoho, and the Lake Louise–Moraine Lake corridor) makes it more than a scenic road trip.
If you’re mostly chasing famous views and you don’t care about photo skills, you might feel like you’re paying for guidance you won’t use. In that case, a simpler self-drive route could fit better.
My practical takeaway: book it when you’ll use the photo instruction and when you can handle weather changes calmly. If that sounds like you, this is a solid way to see the Rockies—and come home with better images, not just memories.
FAQ
How long is the Photography & Rockies Road Trip?
The trip runs for about 5 days.
What’s the meeting time and where do we start in Vancouver?
You meet at 8:00 am and pickup is available at a prearranged Vancouver location of your choice.
How many people are in the group?
This experience is capped at a maximum of 5 travelers, and there is a minimum of 2 people per booking.
Is food included in the price?
No. Food and drinks are not included, so you’ll want to plan snacks and meals for the long days.
Are national park fees included?
Yes. National park fees are included.
Do I need to arrange my own transportation between stops?
No. Transportation is included, along with a driver/guide.
Is there a professional photographer guide?
Yes. The tour includes a professional photographer guide, with guidance for photography.
What camera help is provided?
You’ll get helpful tips for both smartphone and DSLR camera settings, along with composition and shooting guidance.
What about extra activities like gondolas or canoe rentals?
Those types of activities are not included. You would need to handle them separately if you choose to add them.
What happens if weather is poor?
This experience requires good weather. If it’s canceled due to poor weather, you’ll be offered a different date or a full refund.