REVIEW · WHISTLER DAY TRIPS
From Vancouver: Full-Day Whistler Tour
Book on GetYourGuide →Operated by Landsea Tours & Adventures · Bookable on GetYourGuide
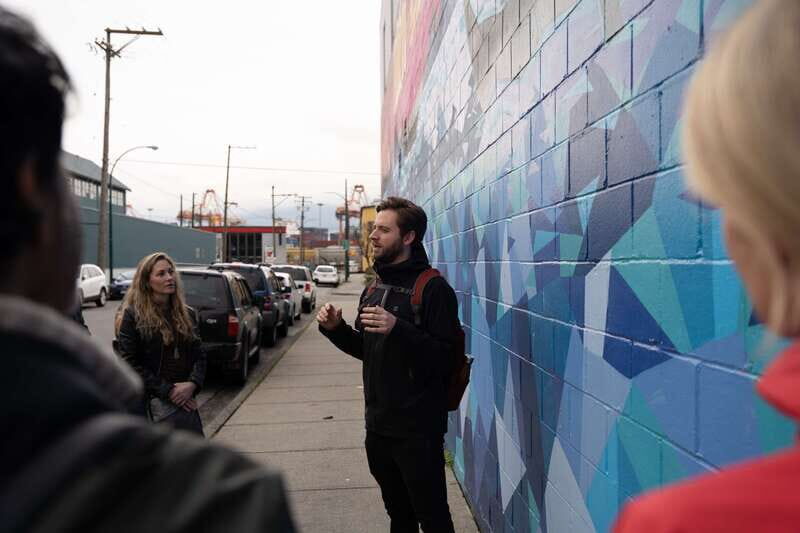
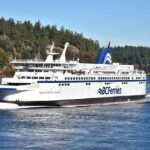
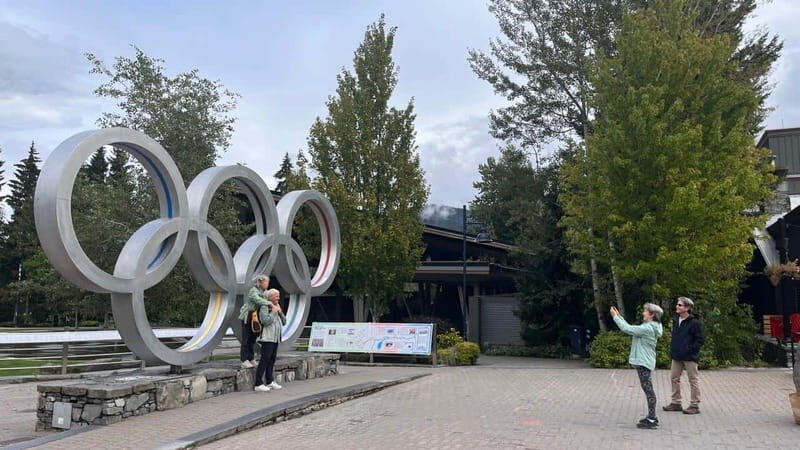
The Sea to Sky drive is the main event. This full-day outing turns the long ride into part sightseeing, with stops around Lions Gate Bridge, Howe Sound, and the Stawamus Chief area before you get time in Whistler Village, led by friendly guides like Kyle or Zac.
I especially like the tight, efficient pacing: you get brief but worthwhile photo windows plus a real Whistler block of 3 hours to browse shops and grab lunch on your own. The other big win is the guided context your host brings, from local history to what you’re actually seeing outside the bus.
One consideration: it’s a long day (about 10.5 hours), and food and drinks aren’t included, so you’ll want to budget for meals and snacks.
In This Review
- Key Highlights at a Glance
- Sea-to-Sky Highway: the drive that sets the tone
- Quick photo stops that actually work: Stawamus Chief, Lions Gate, and Howe Sound
- Summer versus winter: Shannon Falls and gondola, or Squamish Canyon and Mamquam Falls
- The Sea to Sky Gondola and Sky Pilot Suspension Bridge (summer highlight)
- Whistler Village with 3 hours of freedom: shops, cafés, and short trails
- How the pacing works on a 10.5-hour day (and why it’s not just highway time)
- Price and value: what $137 includes (and what you must plan for)
- Your guide shapes the experience: what the best hosts bring
- What to bring (and the small choices that prevent big hassles)
- Best fit: who this Vancouver to Whistler full-day tour suits best
- Should you book this Vancouver to Whistler full-day tour?
- FAQ
- How long is the full-day Vancouver to Whistler tour?
- Where do pickup and drop-off happen?
- What time should I be ready for pickup at the Sandman Hotel Vancouver Downtown?
- Is hotel pickup available at all hotels?
- What stops are included on the way to Whistler?
- Is food included in the price?
- What should I bring?
- Is the tour wheelchair accessible?
- Is there a live tour guide and what language do they speak?
- What seasonal highlights can I expect?
- Can I cancel for a refund?
Key Highlights at a Glance
- Sea-to-Sky Highway views that make the drive feel like an attraction, not just transportation
- Stawamus Chief as a quick but memorable photo stop
- Seasonal nature stops: Shannon Falls plus gondola in summer, Squamish Canyon and Mamquam Falls in winter
- Sea to Sky Gondola and Sky Pilot Suspension Bridge for big panorama time (summer departures)
- Whistler Village free time with enough room for wandering, café breaks, and shopping
Sea-to-Sky Highway: the drive that sets the tone
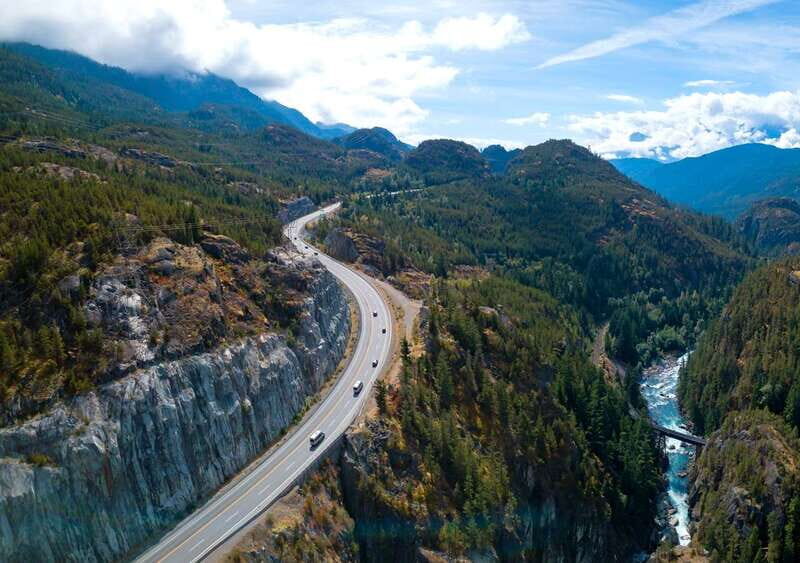
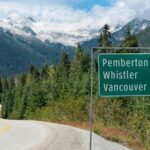
This tour is built around one idea: the best part of getting to Whistler is the scenery on the way. You’ll head north from Vancouver along the Sea-to-Sky Highway, and the day is structured so you aren’t just stuck looking out a window in motion.
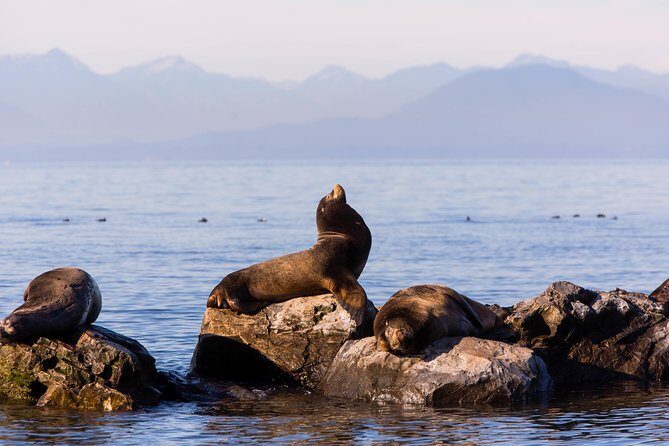
In summer and winter, you’ll pass the kind of terrain that makes you stop talking and start pointing: steep mountains, dramatic coastlines, and viewpoints that change every few minutes. The goal is simple. You get enough time at key locations to take photos, stretch your legs, and actually look at what’s outside, without turning the day into a chaotic game of catch-up.
You can also read our reviews of more tours and experiences in Vancouver
Quick photo stops that actually work: Stawamus Chief, Lions Gate, and Howe Sound
A lot of “Whistler day trips” burn time on long stretches with almost no structured stops. This one does better with a few timed moments that give your brain a break.
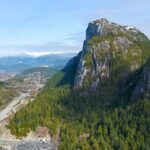
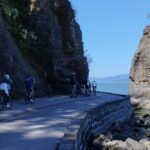
You’ll make a stop at Stawamus Chief (about 15 minutes). It’s short, but it’s enough to grab a few angles and understand why this granite face is such a big deal in the Squamish area. Even if you’re not hiking, it’s one of those landmarks that makes Whistler feel like it’s part of a bigger mountain story.
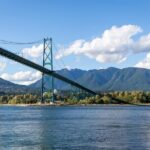
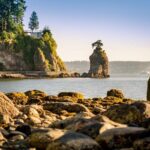
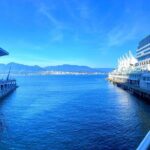
Then you get the classic Vancouver-to-coast sights. You’ll spend about 15 minutes at Lions Gate Bridge and about 13 minutes for Howe Sound sightseeing. Those pauses matter because they turn the route into something you can remember later, not just a blur of highway.
Practical tip: keep your camera or phone ready. These are timed stops, so you don’t want to be rummaging for gear while the group is boarding again.
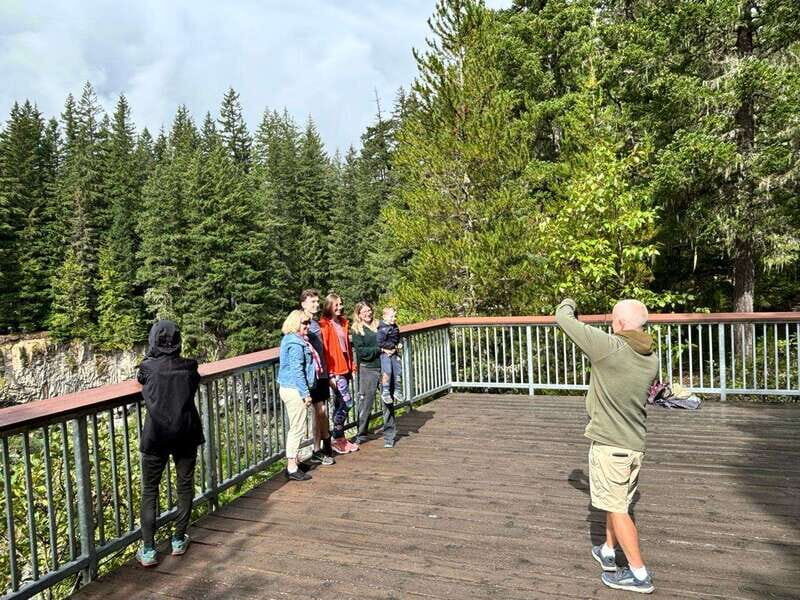
Summer versus winter: Shannon Falls and gondola, or Squamish Canyon and Mamquam Falls
This tour adjusts its highlights by season, and that’s a real value if you’re visiting at an odd time. Summer departures emphasize waterfalls and viewpoints, while winter focuses more on icy scenery and wintry canyon views.
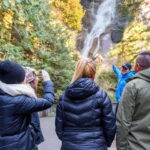
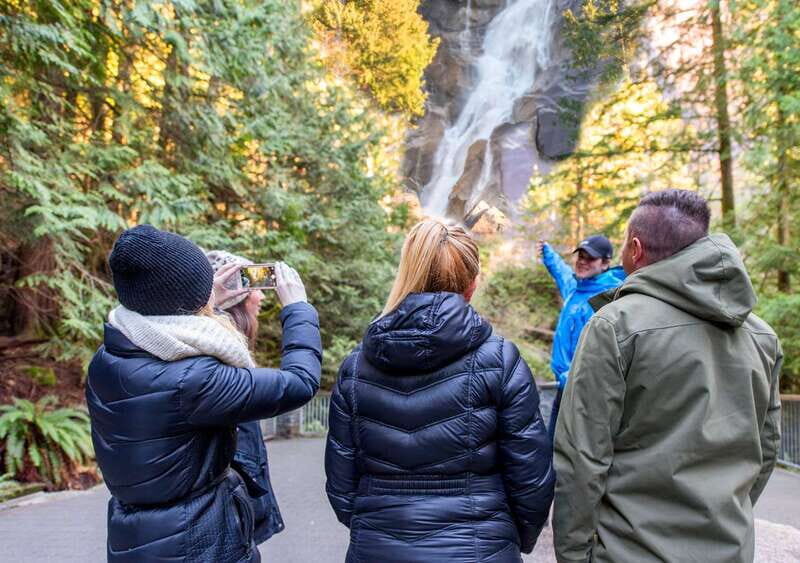
In summer, you can expect a stop at Shannon Falls, noted as the third-highest waterfall in British Columbia. The area is surrounded by lush greenery, and it’s the kind of stop where you’ll notice how quickly the air changes as you get closer to the falls.
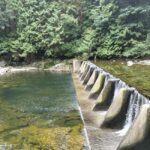
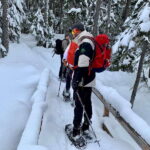
In winter, the itinerary shifts toward cold-weather scenery. You’ll explore Squamish Canyon with icy cliffs and sweeping views, then visit Mamquam Falls, described as a less-visited winter spot where snow and ice transform the setting into something truly different than summer. If you hate feeling rushed, winter tends to feel slower in a good way because the scenery is so visually “stark” and clear.
One small caution: winter days can look bright one minute and slippery the next. Wear shoes you trust.
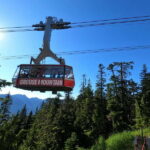
The Sea to Sky Gondola and Sky Pilot Suspension Bridge (summer highlight)
If you’re going in summer, two of the biggest “wow” moments are built around the Sea to Sky Gondola ride and the Sky Pilot Suspension Bridge walk.
The gondola takes you up Mount Habrich, which means you’re not just admiring mountains from ground level. You’re moving into a higher vantage point where the views open up and the coastline starts to show its shape in layers.
Then there’s the Sky Pilot Suspension Bridge, where you’ll cross for sweeping panoramas over Howe Sound and surrounding snow-capped peaks (when weather and conditions allow). The bridge is fun because it mixes adrenaline with sightseeing. It’s also one of those stops where a guide can help you pick where to stand for the best photos and how to manage timing so you don’t miss your group’s next move.
If you’re uneasy about heights, don’t worry—this is still a sightseeing day, and you can pace yourself. Just keep your footwear grippy.
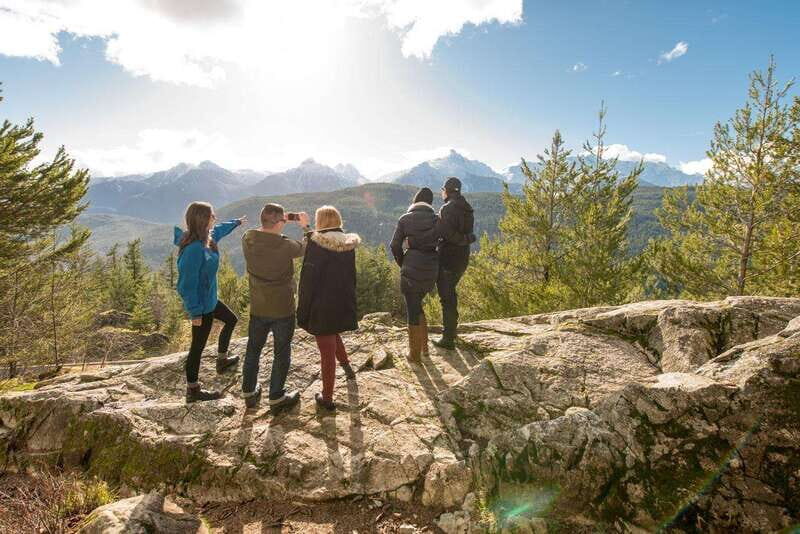
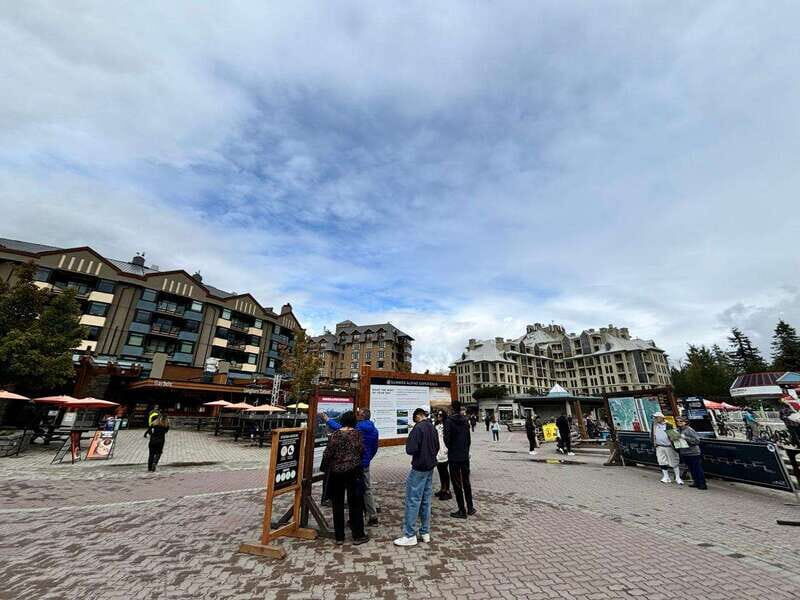
Whistler Village with 3 hours of freedom: shops, cafés, and short trails
Whistler Village is where your day turns from “bus stops and viewpoints” into “slow wandering.” Your free time there is about 3 hours, which is long enough to do a real stroll without feeling like you need to sprint.
You can browse quaint shops, stop into cafés, and take short hikes along forest trails. I like this arrangement because you don’t have to make decisions on the spot while everyone else is moving. The tour gives you structure on the road, then hands you the freedom to do what you came for: village time.
What you’ll likely enjoy most in this block is the atmosphere. Whistler Village feels designed for visitors, but it also has that layered alpine feel where the mountains stay in your peripheral vision. It’s the moment the day stops being about “getting there” and becomes about enjoying being there.
Tip: if you want the best food decision, pick it soon after you arrive. With only 3 hours, waiting until the last 30 minutes can turn into snack-only mode.


How the pacing works on a 10.5-hour day (and why it’s not just highway time)
The full duration is 630 minutes (about 10.5 hours). That sounds long on paper, but the pacing is the point. Your day is split into a sequence of short viewing stops, seasonal highlights, and a real block of free time in Whistler.
One thing I look for on long road trips: whether the schedule respects fatigue. This itinerary does, with multiple opportunities to step out and reset. Reviews also repeatedly mention stops that are well-timed and not overly rushed, and that matters because the Sea-to-Sky Highway can feel repetitive if you never get out of the vehicle.
The best days are the ones where weather helps you fully enjoy each viewpoint. If fog or rain rolls in, you’ll still see plenty, but the “crisp” panoramic moments can soften. Pack for changing conditions and you’ll be fine either way.
Price and value: what $137 includes (and what you must plan for)
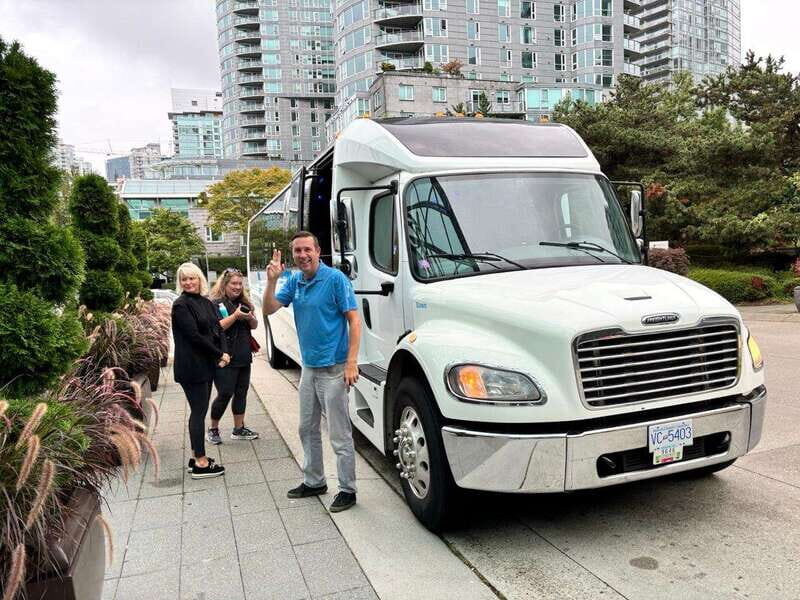
At $137 per person, you’re paying for a full-day structure that includes hotel pickup and drop-off, roundtrip transportation, and a tour guide. You’re also paying for someone else handling traffic timing, stop coordination, and group management on mountain roads.
That’s where the value comes in. If you were to do this independently, you’d likely spend time figuring out parking, routes, and the “which viewpoint is actually worth stopping for” question. This tour does the selection work for you and builds in time blocks so you can see several major highlights in one day.
The trade-off is also clear: food and drinks aren’t included. So your true cost depends on what you eat. If you’re budgeting tightly, plan to bring snacks, then do one meal in Whistler Village.
Bottom line: for people who want maximum sightseeing with minimal planning, the price feels fair. For people who want a slower pace and more time in Whistler, it can feel like a day trip rather than a vacation.
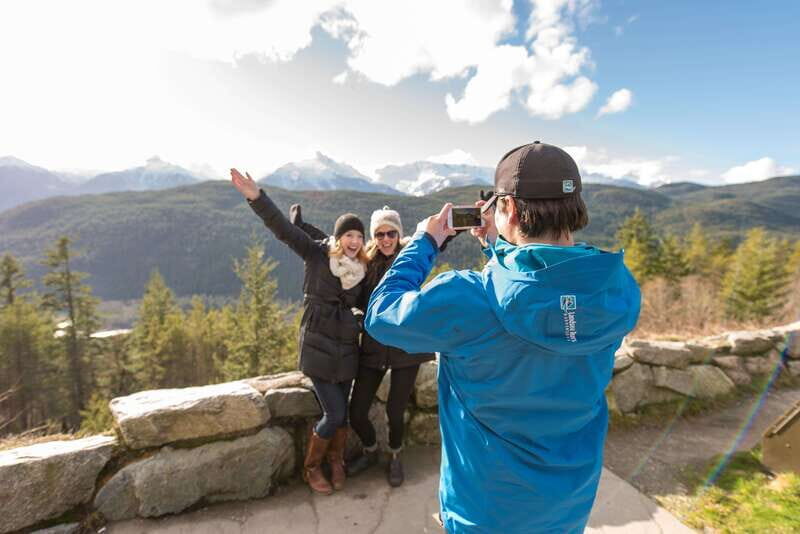
Your guide shapes the experience: what the best hosts bring
Guides are a big part of why this tour earns high marks. Across recent feedback, names that come up include Kyle, Zac, Tim, Gavin, Brent, Rob, and Casey. The common thread is that they’re engaging and keep the day moving with useful context, not just a list of stops.
What stands out in the praise is how they manage timing and keep everyone comfortable. Several reviews mention guides who are funny, safety-focused, and good at adjusting to conditions like weather. Others highlight how the guide’s recommendations help you get more out of Whistler Village, including where to spend time once you arrive.
I’d call that “real value,” because on a scenic day, the guide can turn background scenery into something you understand—and that makes the photos better, too.
What to bring (and the small choices that prevent big hassles)
This tour’s packing list is short, but it matters: bring comfortable shoes and a jacket. You’ll be outside at scenic pull-offs and at least some parts of the seasonal highlights involve walking on uneven ground, including winter areas.
Also plan for the fact that food isn’t included. Even if you don’t buy lunch right away, having a snack in your bag keeps you from making rushed decisions later.
One more practical note: winter or shoulder-season days can change fast. You’re traveling through coastal and mountain conditions in one long outing, so layers are your friend.
Best fit: who this Vancouver to Whistler full-day tour suits best
This is a strong match for you if:
- you want door-to-door pickup without managing public transit or driving yourself
- you like guided stops with photo windows, then self-paced time in Whistler Village
- you’re visiting for a limited time and want a lot of highlights in one go
It’s not for everyone. The tour is not suitable for wheelchair users, so if mobility is a concern, you’ll need a different format.
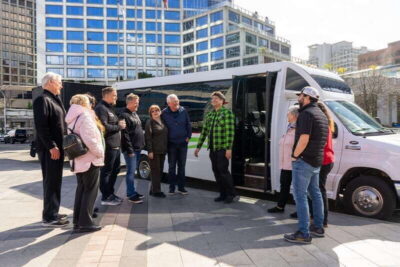
It also fits couples and small groups well. A few reviews mention small-bus comfort, which is usually a sign the experience can feel more personal than a huge coach day.
Should you book this Vancouver to Whistler full-day tour?
Book it if you want a structured day that turns the drive into sightseeing, then lands you in Whistler with enough freedom to enjoy the village. The combination of timed viewpoint stops, seasonal nature highlights, and 3 hours to wander is a practical formula—especially if you don’t want to spend your trip researching routes and parking.
Skip or consider alternatives if you’re the type who wants a long, slow Whistler stay. Three hours is enough for a good taste of the village, but it’s not enough for people aiming to ski all day or do deep hiking in the mountains.
If you’re flexible with weather, bring the right shoes and jacket, and plan for lunch on your own, this day trip is a high-value way to experience the Sea-to-Sky region without the stress.
FAQ
How long is the full-day Vancouver to Whistler tour?
The duration is 630 minutes, which is about 10.5 hours. Check available starting times when you book.
Where do pickup and drop-off happen?
Pickup and drop-off are available at many hotel locations in Vancouver. Each pickup point has a unique pickup time, so you’ll need to use the pickup time shown in your booking confirmation.
What time should I be ready for pickup at the Sandman Hotel Vancouver Downtown?
You should be ready for pick up at the Sandman Hotel Vancouver Downtown at 8:00am.
Is hotel pickup available at all hotels?
Hotel pickup is available from select Vancouver hotels, but if your hotel is included you still need to call ahead to schedule and confirm. Transportation will not go to hotels without prior scheduling and confirmation.
What stops are included on the way to Whistler?
The tour includes sightseeing stops such as Stawamus Chief (about 15 minutes), Lions Gate Bridge (about 15 minutes), and Howe Sound (about 13 minutes), plus free time in Whistler Village.
Is food included in the price?
No. Food and drinks aren’t included, so you’ll need to plan to buy your own meals or snacks.
What should I bring?
Bring comfortable shoes and a jacket.
Is the tour wheelchair accessible?
No. The tour is not suitable for wheelchair users.
Is there a live tour guide and what language do they speak?
Yes, there is a live English-speaking tour guide.
What seasonal highlights can I expect?
In summer, the tour includes Shannon Falls and the Sea to Sky Gondola up Mount Habrich, plus the Sky Pilot Suspension Bridge. In winter, you’ll explore Squamish Canyon with icy cliffs and visit Mamquam Falls.
Can I cancel for a refund?
Yes. You can cancel up to 24 hours in advance for a full refund.