REVIEW · EVENING EXPERIENCES
Photography & Walk at Night
Book on Viator →Operated by Nature PhotoHikes · Bookable on Viator
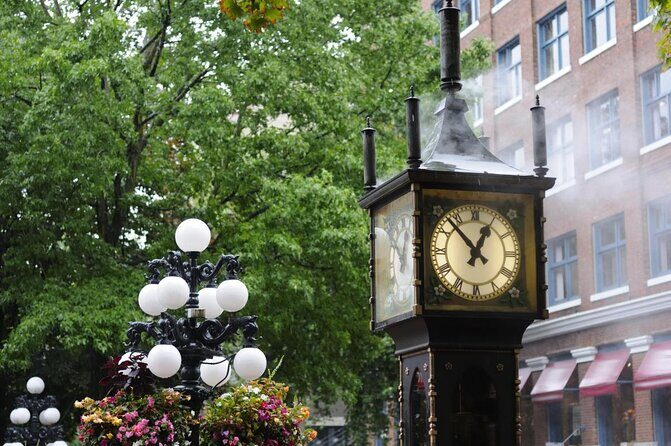
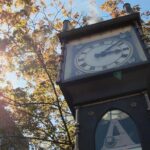
Gastown at night feels like free theater. This tour pairs the Steam Clock glow with hands-on photo coaching for DSLR long exposures and phone night shots, led by photographer-guide Nafee. You’re not just walking for the views; you’re learning how to see the scene before you shoot it.
I like the small group setup (max 7) because you get real time with the guide instead of being herded along. I also like that they lend a DSLR and tripod, so you can practice the techniques without worrying whether your gear is up to the job.
The main drawback is weather. This experience needs good conditions, and you’ll be on your feet in an evening-sometimes-chilly Vancouver.
In This Review
- Key things to know before you go
- Gastown at night: why 5 pm is the sweet spot
- Your guide, Nafee, and the small-group advantage
- Long-exposure DSLR tips and phone night shots—without gear stress
- Walking Gastown’s best angles: Steam Clock to cobblestones
- Victoria on the horizon: ferry views and photogenic neighborhoods
- Where the photos come from: what you’ll practice at each kind of stop
- Gear, clothing, and walking comfort in Vancouver evenings
- Price and value: is $38.16 a fair deal?
- Who should book this photography and night walk
- Should you book it: my honest recommendation
- FAQ
- Where does the tour start?
- What time does it start?
- How long is the tour?
- Do I need a DSLR to join?
- What’s included in the price?
- Is food included?
Key things to know before you go
- One-on-one coaching aimed at both camera phones and DSLRs
- DSLR + tripod loan included, which makes long exposure lessons actually practical
- Max 7 people, so you can ask questions while you’re walking
- Steam Clock and cobblestone streets are your nighttime classroom in Gastown
- Victoria-style scenery is part of the concept, with stops that focus on photogenic streets and waterfront
- Food isn’t included, so you’ll want to plan a meal stop on your own or follow the guide’s ideas
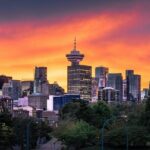
Gastown at night: why 5 pm is the sweet spot
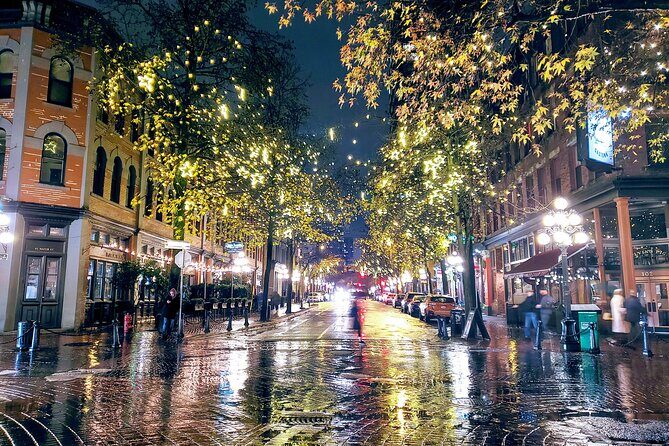
A night photo walk lives or dies by timing. Starting at 5:00 pm puts you in that changeover moment where the city lights start turning on, and the sky still holds enough tone for photos to look more interesting than a flat black sky. Gastown is ideal for this: the Steam Clock, street angles, and older-style storefronts naturally give you contrast.
You’ll also get a street-level walk rather than a quick drive-by view. That matters for night photography because your best shots often come from small choices: the angle of a building, the way reflections pool on pavement, or where street lighting hits. This tour is built to help you spot those choices fast.
If you only want one takeaway from this hour, make it this: you’re learning how to translate a scene you like into settings and framing that work at night.
You can also read our reviews of more walking tours in Vancouver


Your guide, Nafee, and the small-group advantage
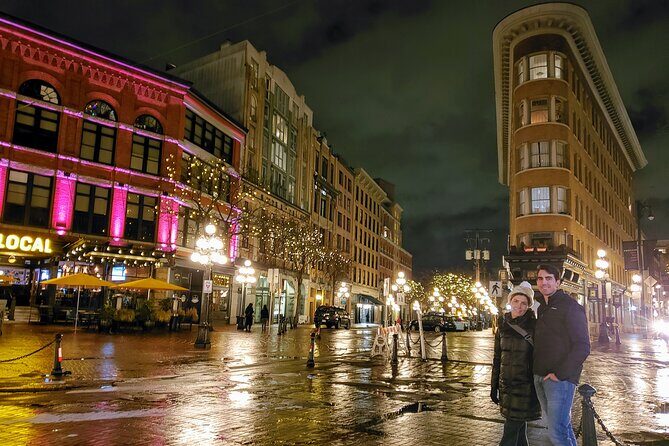
The heart of the experience is the professional photographer-guide who leads the group and teaches while you move. The best part is the pacing. With a maximum of 7 travelers, you can actually talk through what you’re trying to capture instead of just taking photos and hoping they turn out.
From what I’ve seen in the way Nafee runs the walk, he keeps things practical: you get the history behind what you’re seeing, then you get photography instruction you can use right away. That combination helps beginners too, because once you understand what a location is about, you shoot with more intention.
You can also choose your style of participation. The format includes both instruction and a photoshoot element, and there’s even an option for photo shoots in place of some learning if that’s your preference.
Long-exposure DSLR tips and phone night shots—without gear stress
This tour is specifically built around two types of night shooting: long exposure for DSLR cameras and night shots with a camera phone. That’s a smart pairing, because lots of people show up with either a serious camera or just their phone—and both can get good results when you know what to do with night lighting.
The big confidence boost is that a DSLR and tripod are borrowed for you. Long exposures often need steadiness, and a tripod helps a lot. It also means you’re not forced to spend money on a rental just to learn. If you bring your own phone, the lesson still matters: night photography is about controlling how light falls into the frame, not just pointing and tapping.
Here’s how I think about the value: you’re paying for guided decision-making. A guide helps you avoid the common beginner trap of taking 50 shots that all look the same. Instead, you practice a few techniques and learn when each one works.
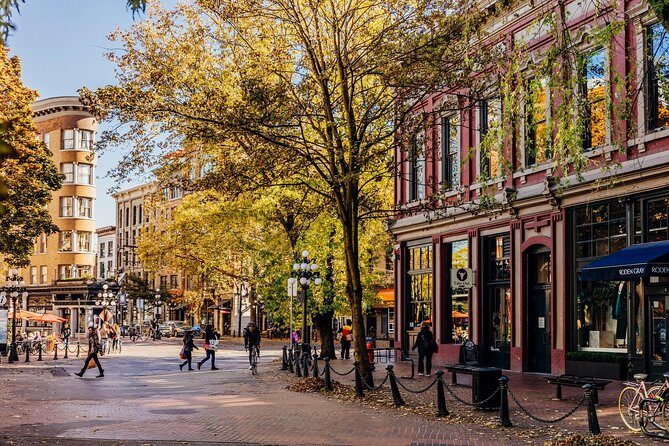
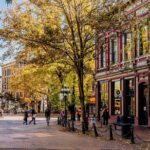
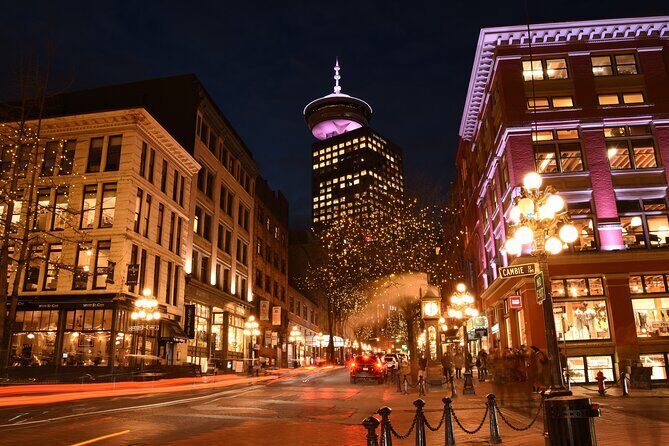
Walking Gastown’s best angles: Steam Clock to cobblestones
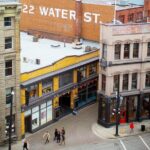
Your main stop is Gastown, specifically the area around the Gastown Steam Clock at 305 Water St, Vancouver. You’ll explore the cobblestone streets, hit the well-known points, and also get directed toward quieter corners where you can slow down and shoot without the frame looking cluttered.
Gastown at night has a specific look: older stonework, strong lamp light, and lots of “lines” from street grids and building edges. Those lines are gold for night photos because they lead the eye through the image. With the guide, you’ll practice seeing those lines and using them instead of just photographing the obvious landmark.
You’ll also get recommendations for night photography spots and dining/watering holes as part of the walk. That’s not fluff. A good photo tour helps you extend the experience after the guide leaves—because the best shots sometimes happen when you go back later and try a new angle.
Practical tip: wear shoes that don’t punish you. Gastown’s charm comes from the same surface that can make tired feet show up faster than you expect.
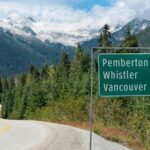
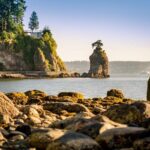
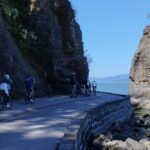
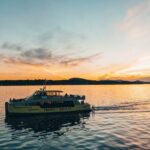
Victoria on the horizon: ferry views and photogenic neighborhoods
Even though your listed evening meeting point is in Gastown, the overall concept is a Vancouver-to-Victoria sightseeing-and-photography experience. The idea is that you get time where the scenes are different in daylight and at night, so you can test your skills across lighting conditions.
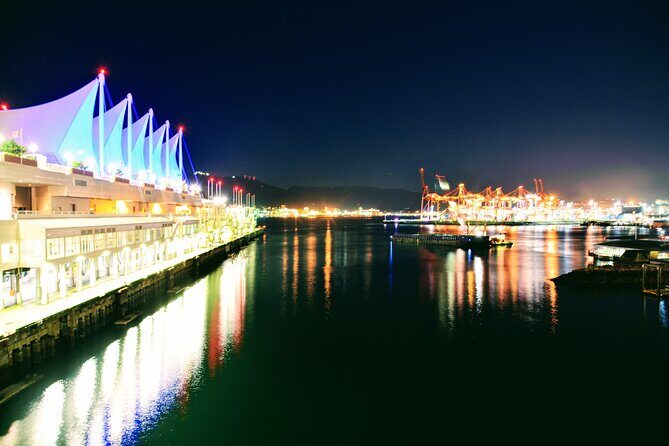
If your day includes the ferry crossing, you’ll have about two hours on the boat, with ocean, mountains, and island views along the way. That’s a nice setup for photographers because you can compose wide shots before you ever get off land.
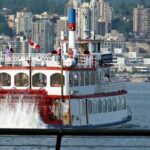
Once in Victoria, the route is centered on places that are naturally photogenic:
- Victoria’s Inner Harbour
- Fisherman’s Wharf
- Chinatown/Fan Tan alley
- Market Square
- Beacon Hill Park, where mile 0 of the Trans Canada Highway begins
This mix is smart. It gives you water views, heritage streets, and a clear marker that’s easy to photograph without guessing where to stand. Plus, the stops include vintage shops and side streets—good for small, atmospheric shots when you don’t want every photo to be a wide postcard.
One more thoughtful detail: the guide provides pointers on where to grab a bite to eat along the way. That’s useful for you because food breaks turn into perfect photo breaks. You’ll know where to pause without losing time hunting for a place.
You can also read our reviews of more evening experiences in Vancouver
Where the photos come from: what you’ll practice at each kind of stop
Night photography is usually easier when you work with a plan. This tour’s structure pushes you to practice several “photo jobs” instead of only one.
In places like Gastown and other older-street areas, the focus tends to be:
- night lighting and contrast (streetlamps make faces and buildings interesting)
- reflections and texture (pavement, storefronts, and harbor surfaces can add depth)
- composition choices that use street lines and landmark shapes
In harbor and waterfront settings like Inner Harbour, you’ll get opportunities for wider frames and layered shots—water plus skyline plus mountains. Those are excellent for learning because the scene has multiple distances, which makes your exposure choices more meaningful.
In neighborhood streets such as Chinatown/Fan Tan alley and Market Square, you get a chance to shoot details and atmosphere: doorways, signage, and the way the street feels at night. If you’re using a phone, these are often easier than trying to capture a perfect skyline shot in low light.
And at Beacon Hill Park and mile 0, you have a built-in subject. You’re not inventing a focal point. You’re photographing a known landmark in an outdoor setting, which helps your photos look intentional instead of random.
Gear, clothing, and walking comfort in Vancouver evenings
Bring comfortable walking shoes. Even if the formal tour time is short, you’re still doing a real neighborhood walk, on cobblestones and city sidewalks. Add layered clothing, because Vancouver can feel mild until the wind finds you.
If you’re bringing your own camera, you can use it—this experience is friendly to either a DSLR or a camera phone. If you don’t have a DSLR, don’t worry: the tour includes borrowing a DSLR and tripod. That also means you can spend your energy learning rather than managing equipment logistics.
Also, plan for the kind of night shooting where you might take breaks to adjust and reframe. Night photos don’t happen in one burst, and part of the coaching is about slowing down just enough to get better results.
Price and value: is $38.16 a fair deal?
At $38.16 per person (about 1 hour for the Gastown portion), the value is in what’s included, not just in the time.
You’re getting:
- a guided small-group city tour
- a professional photographer-guide
- DSLR + tripod loan
- photoshoot
- plus admission ticket included for the experience
If you’ve ever paid for a photography class without equipment support, you know how quickly costs climb. Here, the tripod and DSLR support help you practice the exact technique the tour is teaching—long exposure—without renting.
The other value piece is instruction time. A one-hour night walk can still change how you shoot if the guide gives you clear direction and you get time to try. With max 7 people, your attention from the guide is more realistic than in a huge group tour.
Does it feel like a bargain? If you want better photos and not just a stroll, yes. If you’re already an experienced night shooter and only want a location walk, you might find the hour a bit short. But for most people—especially phone users who want night photos that don’t look like dark smears—it’s a solid deal.
Who should book this photography and night walk
This tour fits best if you fall into one of these groups:
- You want better night photos but you’re not sure where to start
- You have a phone and want guidance for night lighting
- You have a DSLR and want to learn how to use long exposure in real city settings
- You like a small-group experience and don’t want to feel lost in a crowd
- You want local context plus practical shooting tips, not just scenic stops
It also works well as a solo activity or a couple’s outing. Shared learning makes a photo tour feel less awkward than wandering with no plan.
If you hate walking or you’re traveling with limited patience for evening cold, you might think twice. The experience depends on good weather, and you’ll be out on the streets.
Should you book it: my honest recommendation
Book it if your goal is to come away with photos that look like you knew what you were doing. The combination of Nafee’s guidance, the DSLR/tripod loan, and coaching for both DSLR long exposures and phone night shots is exactly what makes this kind of tour worth the money.
I’d hesitate only if you want a long sightseeing day with lots of stops, because the schedule you’re signing up for is built around a compact night walk format. If you want lots of additional activities, the experience notes flexibility to modify the plan in Victoria for add-ons like whale watching, but that’s not guaranteed as part of the base walk.
For most people chasing better night images in real Vancouver streets, this is an easy yes.
FAQ
Where does the tour start?
It starts at the Gastown Steam Clock, 305 Water St, Vancouver, BC V6B 1B9, Canada.
What time does it start?
The start time is 5:00 pm.
How long is the tour?
The duration is about 1 hour.
Do I need a DSLR to join?
No. You can use either a DSLR or a camera phone, and the tour also includes borrowing a DSLR and tripod.
What’s included in the price?
Included are a guided small-group city tour, a professional photographer-guide, borrowing a DSLR camera and tripod, and a photoshoot.
Is food included?
No, food and drinks aren’t included, though you’ll get pointers on where to eat.